Show the decisions behind the finished space
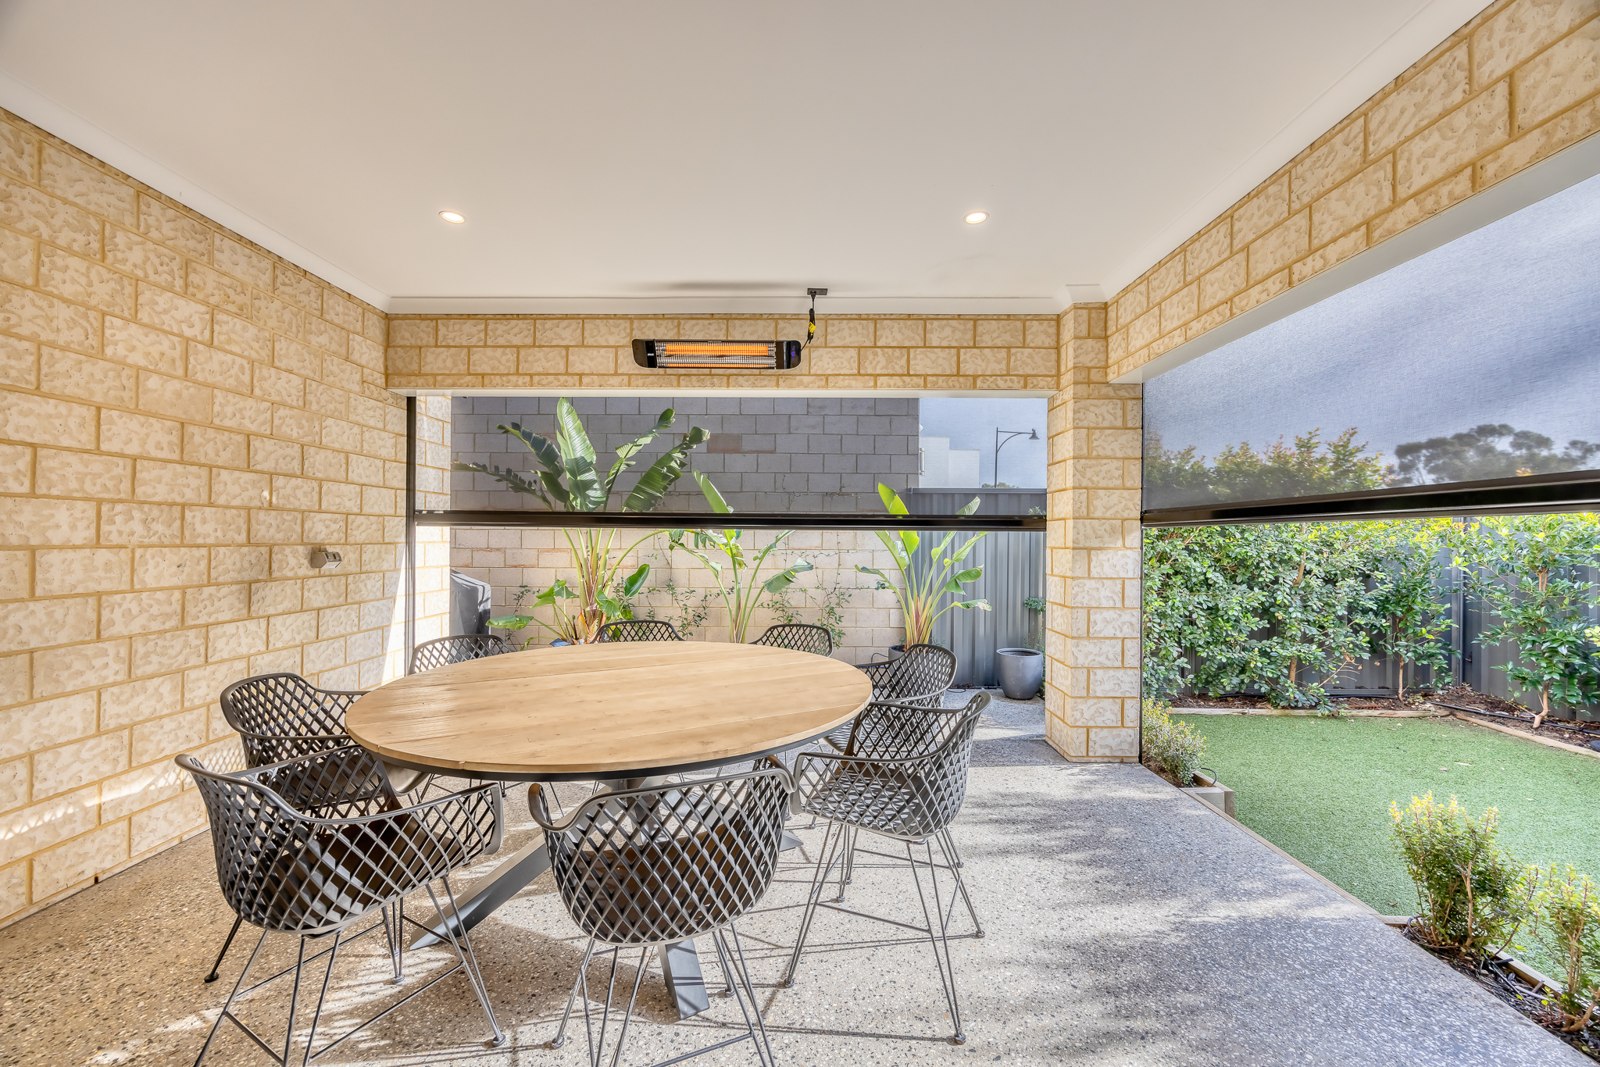
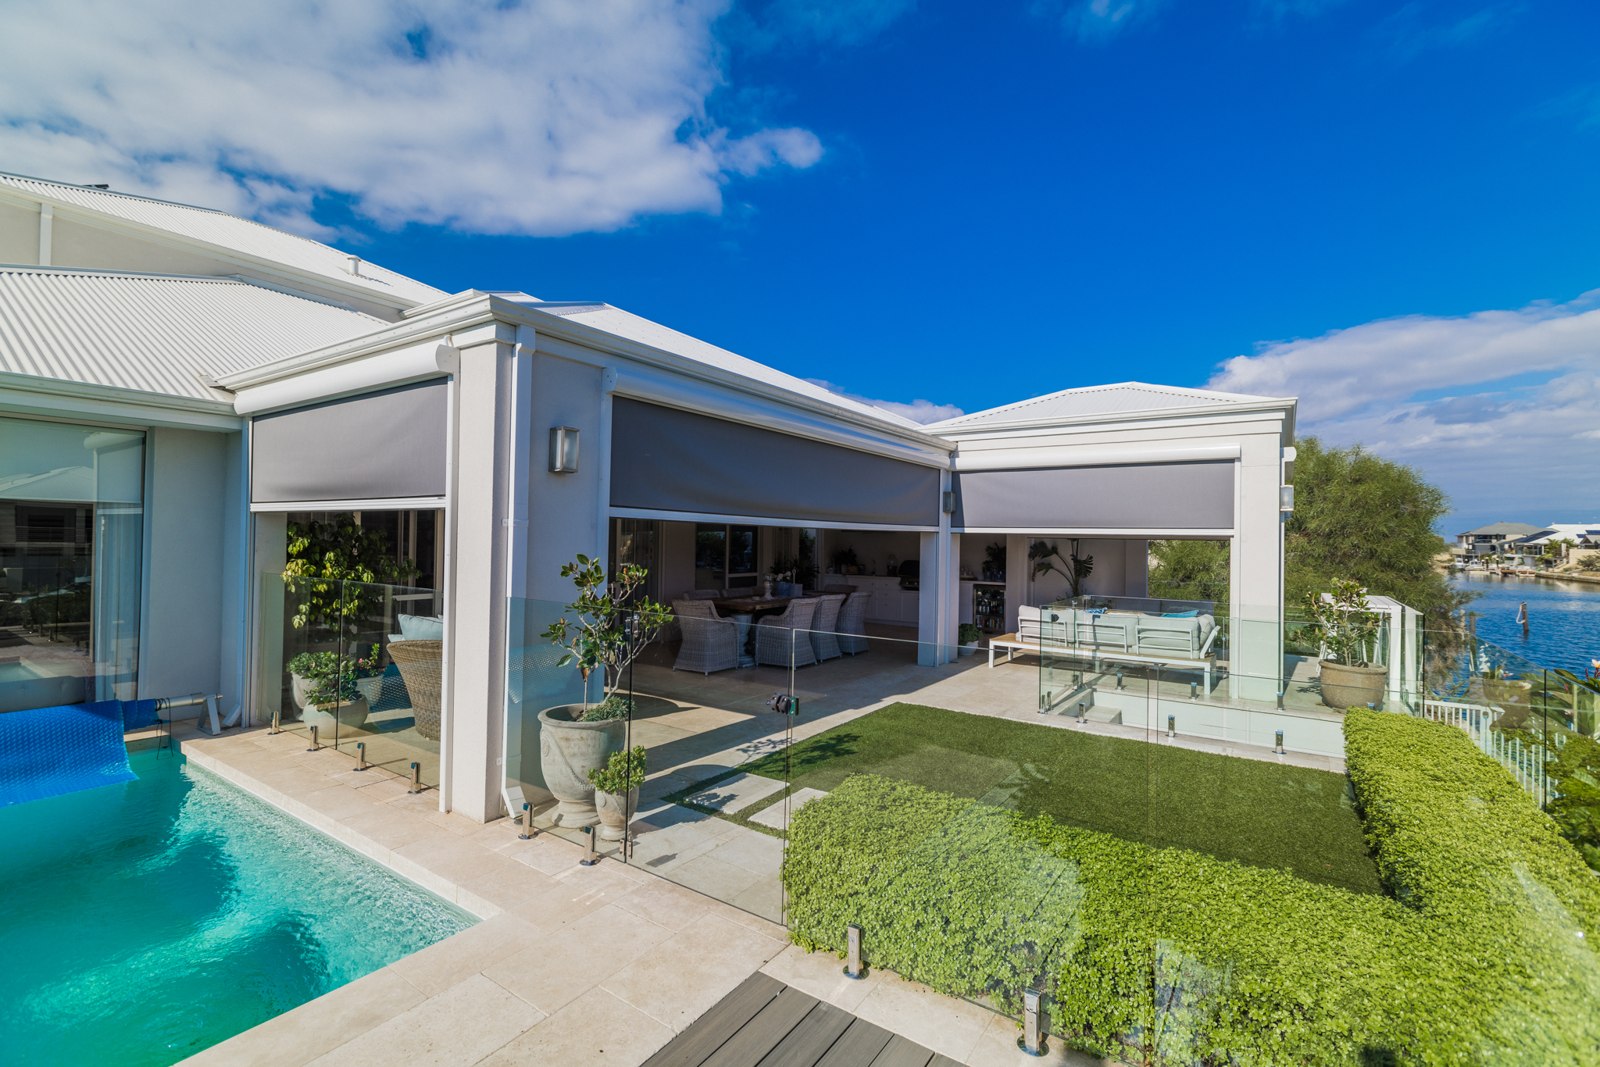
A photograph of an alfresco area should help someone understand how the space works. A wide view can establish the relationship between the house, seating and garden. A closer frame can explain where a blind meets a post, how a doorway opens or how a control is reached. Together, these images tell a more useful story than a collection of attractive but unexplained details.
Start a photography brief with the questions a prospective customer is likely to ask. Where does the afternoon light enter? What remains visible when the screening is lowered? Is there room to walk around the dining table? Make those questions the basis of the shot list.
Plan more than one view
Photograph the overall space, the product in use and the details that affect everyday operation. If the installation can be shown in different positions, keep the camera in the same place for each frame. That makes the change easier to understand without relying on a long caption.
Include a view from inside looking out as well as one from the garden. The outside photograph explains the appearance of the facade; the inside photograph helps a reader judge sightlines and the feeling of the enclosure. Neither view should conceal a practical limitation that would matter to a buyer.
Keep the comparison honest
Choose exposure settings that retain useful detail in the fabric and surrounding surfaces. Avoid editing that changes the colour or apparent openness of a mesh. If a photograph has been taken at a different time of day, explain that rather than presenting the light change as a product result.
The same care applies to before-and-after images. A renovation may include lighting, furniture and landscaping as well as screening. Captions should identify the work actually supplied by the featured business.
Give every image a job on the website
Use descriptive captions that explain the product, setting and relevant design choice. Write alternative text for the information conveyed by the image, without filling it with search terms. Keep the full-resolution original separately, then export appropriately sized website versions.
For a real-world reference when developing a shot list, the Smarter Outdoors project gallery shows installations in residential settings. Review galleries as examples of the questions photographs can answer, rather than treating them as evidence of results for a different project.
A useful final check is to give the proposed image sequence to someone unfamiliar with the job. If they can explain the layout and the role of the product, the photography is doing more than decorating the page.